

1
Open the load
Go to Shipments (Loads) in the left sidebar, find the load, and click the row to open the load drawer.
2
Open the actions menu
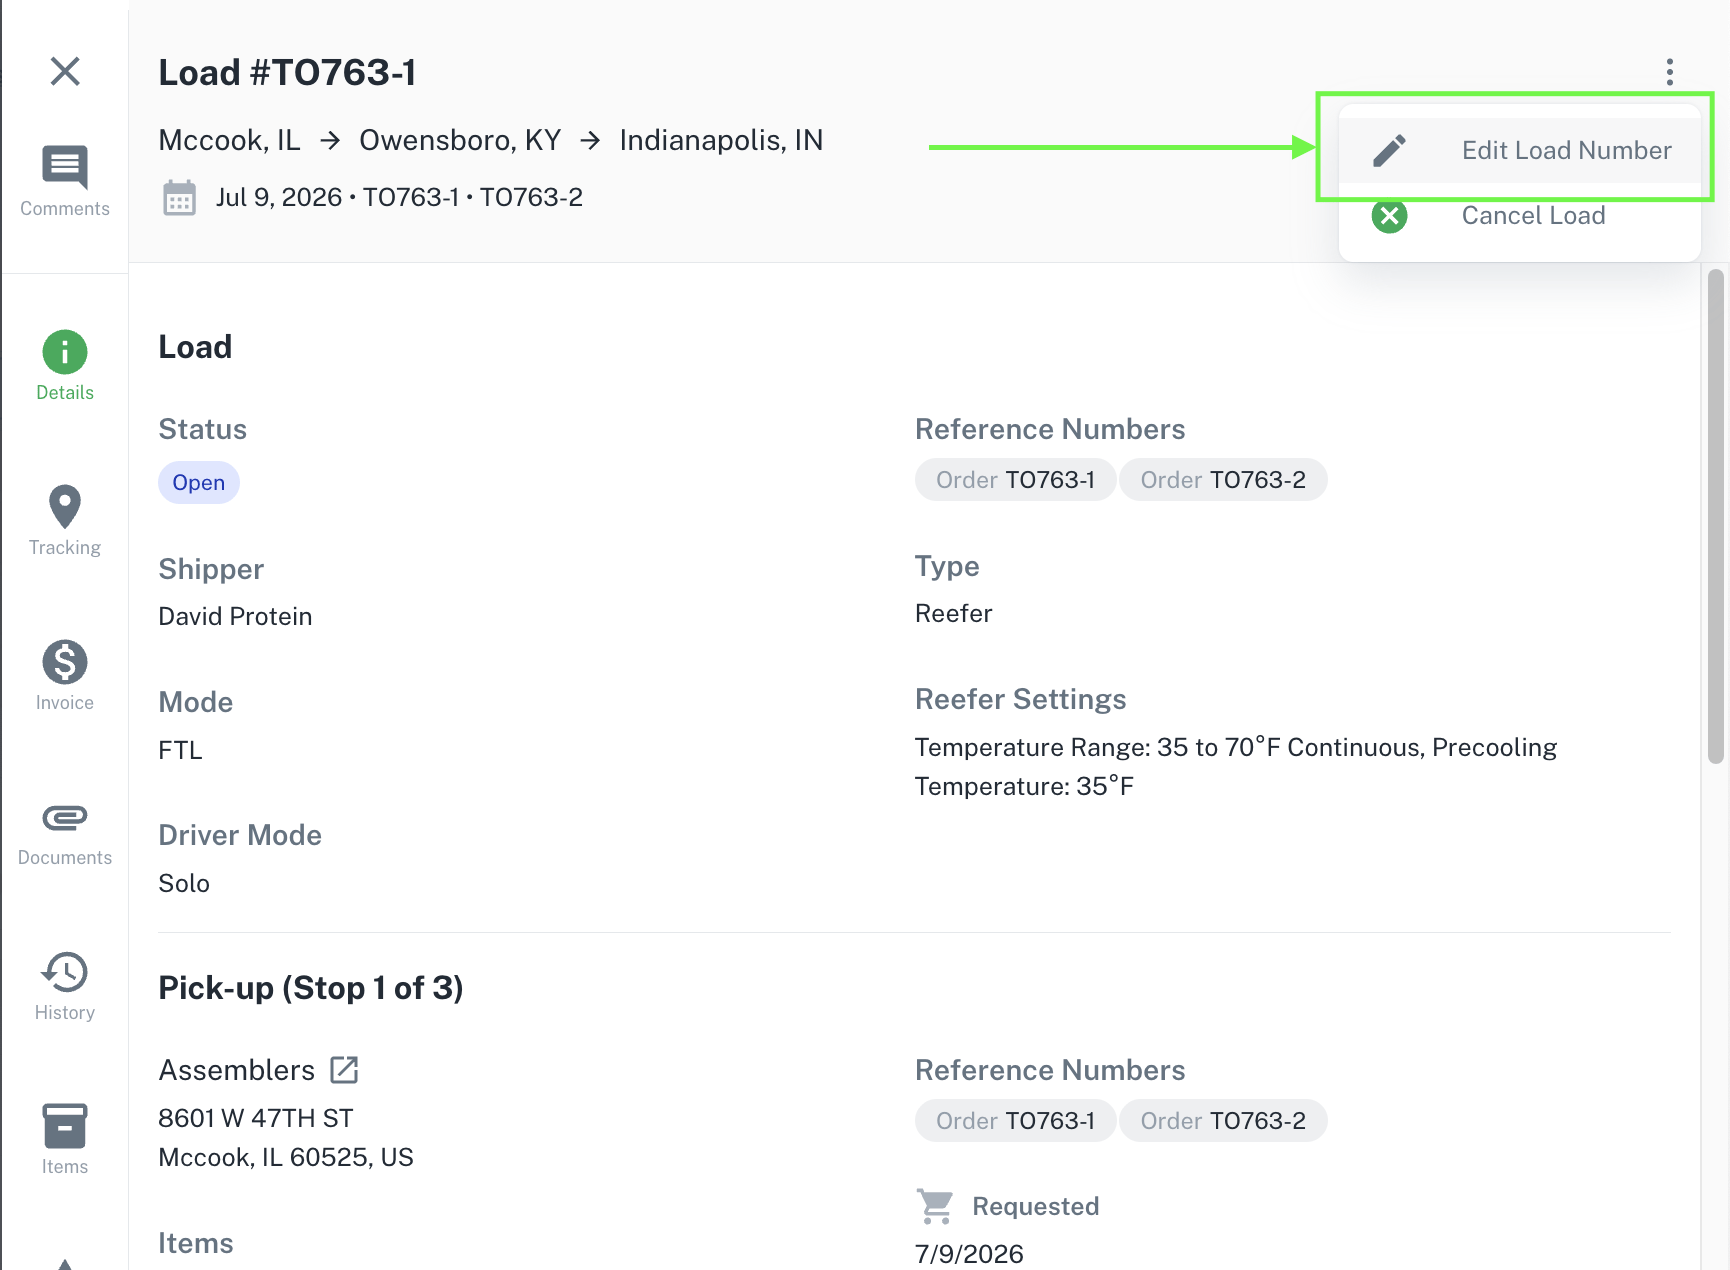
In the top-right of the load drawer, click the three-dot menu (⋮) next to the load number.
3
Select Edit Load Number
Choose Edit Load Number from the dropdown.
4
Enter the correct number and save
Type the correct Load Number — the same shipment ID you’ll use on your invoice — and confirm. The load updates immediately.
You should ideally update any Load Number before you submit the invoice. Once the number matches, invoicing works the same as any other load — see Submit an Invoice.
Find Your Load Number
Dashboard → Shipments (Loads) is the source of truth for your Load Number. Whatever shows there is the value Owlery matches on — for invoices, for POD and document filenames, and for every other lookup. If you’re ever unsure what your Load Number is, open owlery.ai/dashboard/loads, find the shipment, and read the Load Number off the load.
How that number was set depends on how you took the shipment:
- Accepted manually in the Portal — it’s the value your account manager entered when they accepted the tender. Confirm it on the load.
- Accepted through your API — Owlery records its own Load Number for the shipment, which may differ from your internal reference. Check
Shipments (Loads)to see what Owlery used. - Connected by EDI — it’s the shipment ID Owlery assigns, carried as the shipment ID on your EDI 204 tender and your EDI 210 invoice.